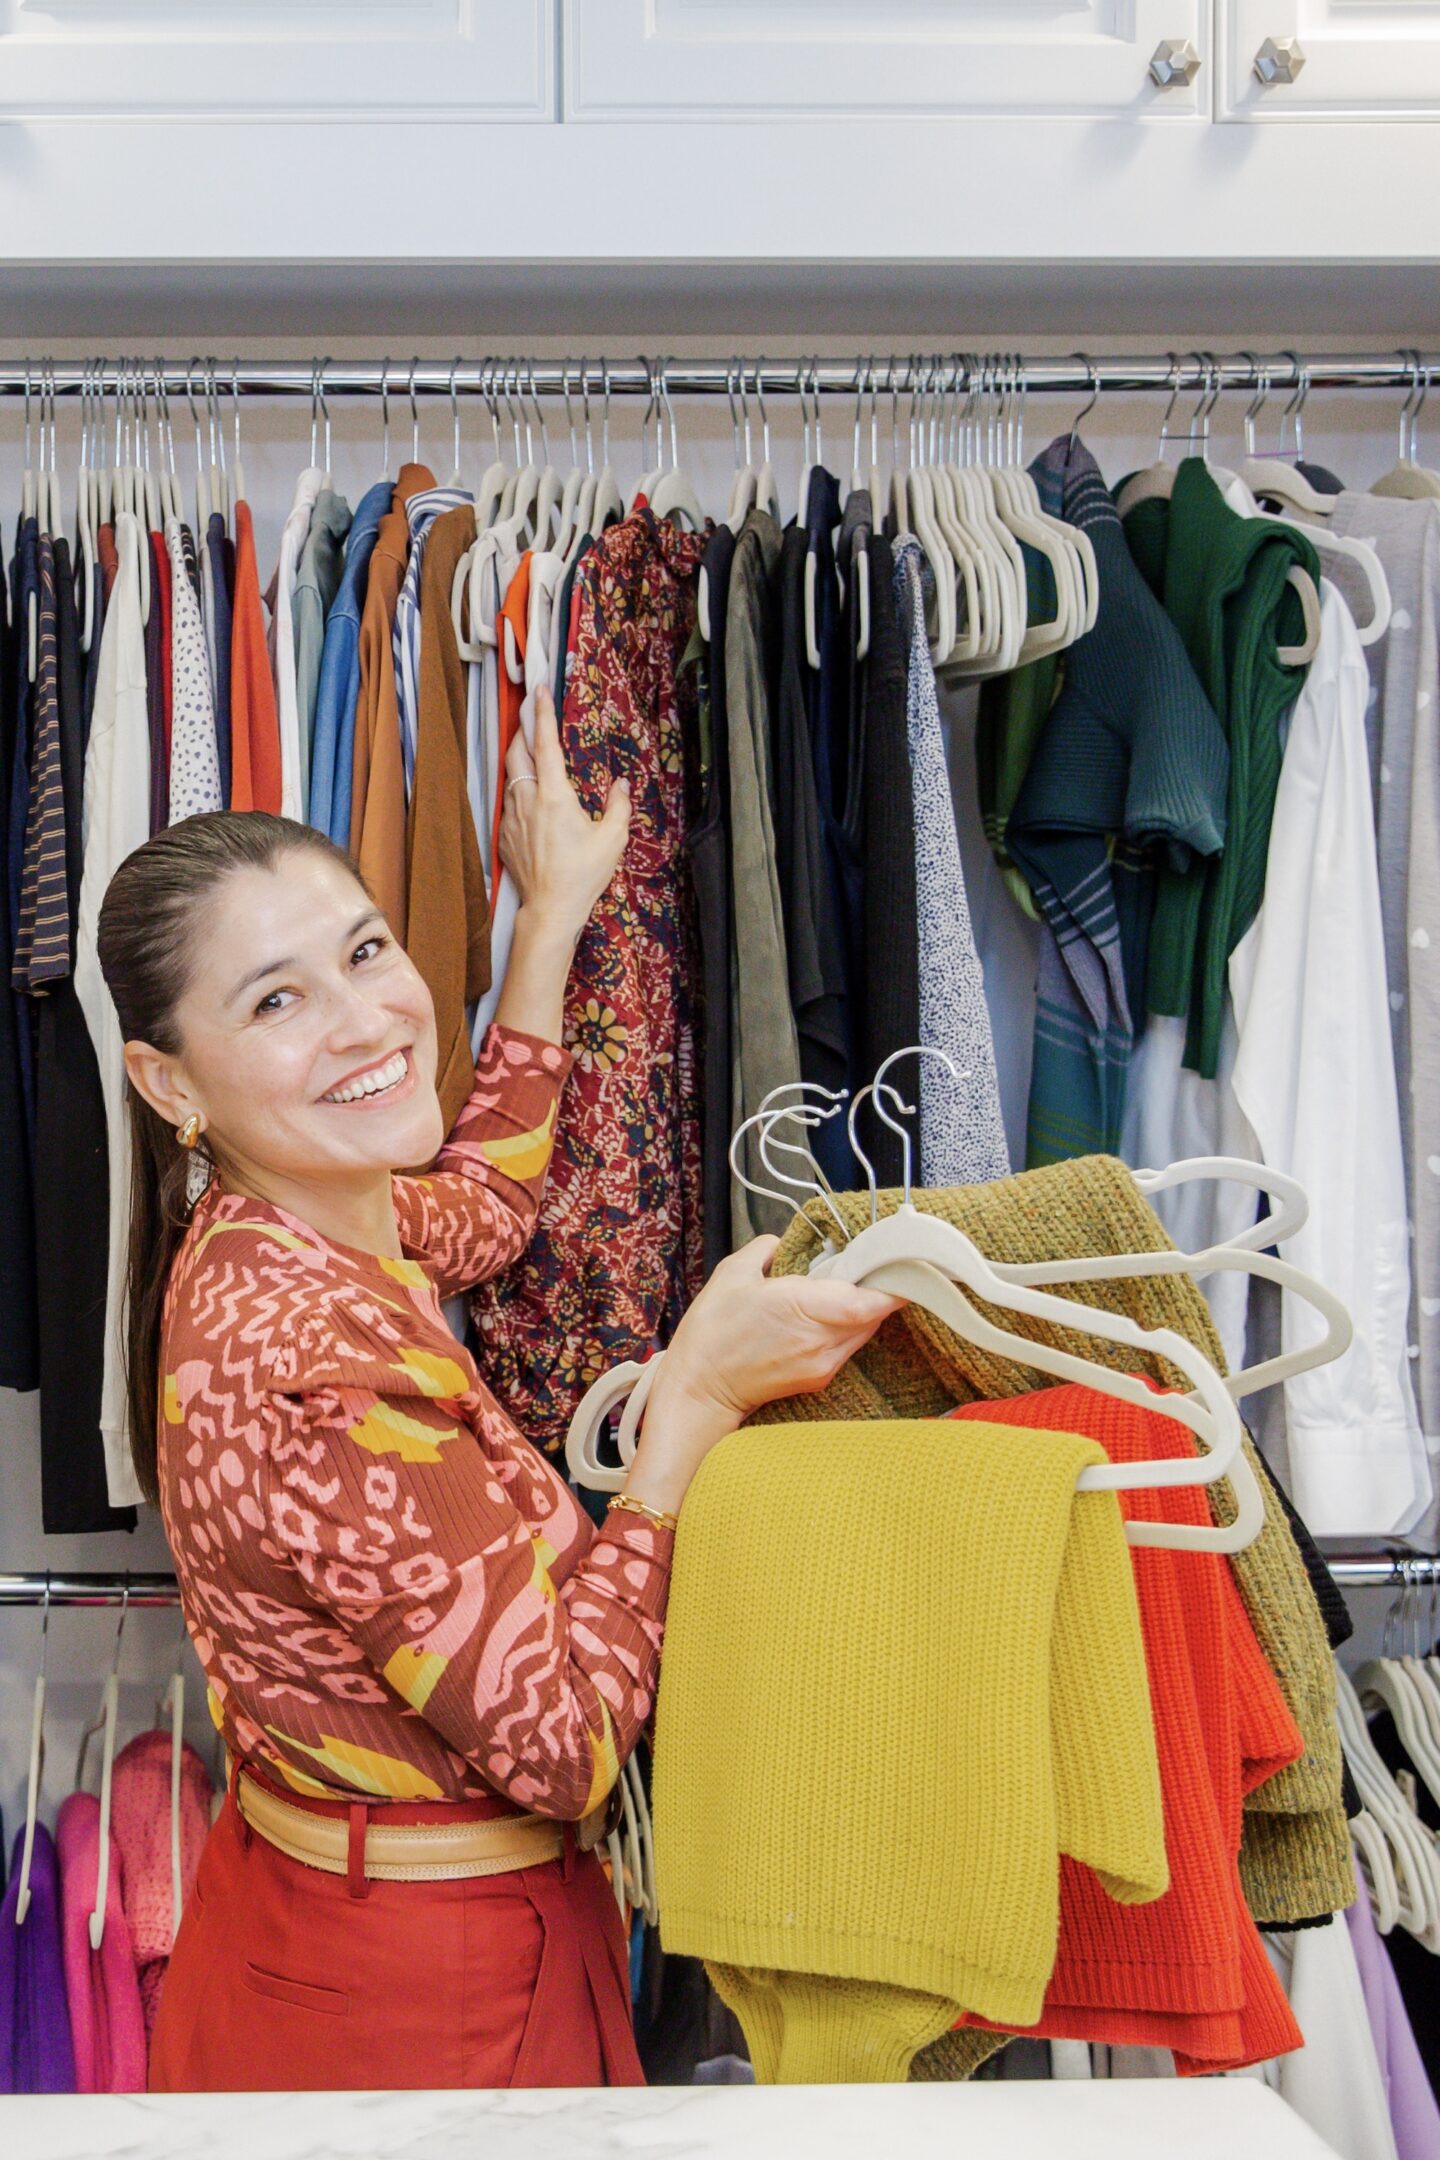
Knowing how to organize your closet can be overwhelming. But having a closet that’s well organized will save you so much time and anxiety when you’re getting ready every morning or packing for trips. It will even help you shop better. In fact, an organized closet will save you money since you will know exactly what you own and what you don’t. As a personal stylist, I see so many of my clients buy clothing they already own (another black tank?!) because their closets are organized so poorly that they don’t know what they have.
With my experience organizing hundreds of closets, I have found an ideal method that will work for most people. So, let’s get to it. Here’s how to organize your closet…
Tip: This post is specifically about how to organize your clothes, shoes, and accessories. If you want to do a total closet clean out and purge, see my post on Spring Cleaning Your Closet.
Step 1: Divide Your Clothes Into Categories
The first step to organizing your closet is to divide your garments into three categories:
- Work
- Casual
- Party (I use the word ‘party’ loosely. This could also be called date night, dinner, drinks, etc.)
After you have your categories, line up all of your work tops from sleeveless to long-sleeved, then all of your casual tops from sleeveless to long-sleeved, and the same with your party tops. It is essential to line up your tops according to sleeve length to avoid sleeveless items getting lost behind sleeved items.
Continue to use this Work/Casual/Party differentiation with pants, jackets, and skirts. Feel free to organize by color within these very niche categories. Black work pants will hang next to other black work pants. Blue long-sleeved “party” blouses will hang next to other blue long-sleeved “party” blouses, and so on.
Of course, you won’t want to hang up all of the items in each category, which brings us to step 2…
Tip: If you have a versatile top that can be worn anywhere, put it in the category that needs it most. For example, if you have 20 “work” tops, and only 5 tops to go out in, put the versatile top under the “party” category.
Step 2: Identify Hanger Appropriate Items
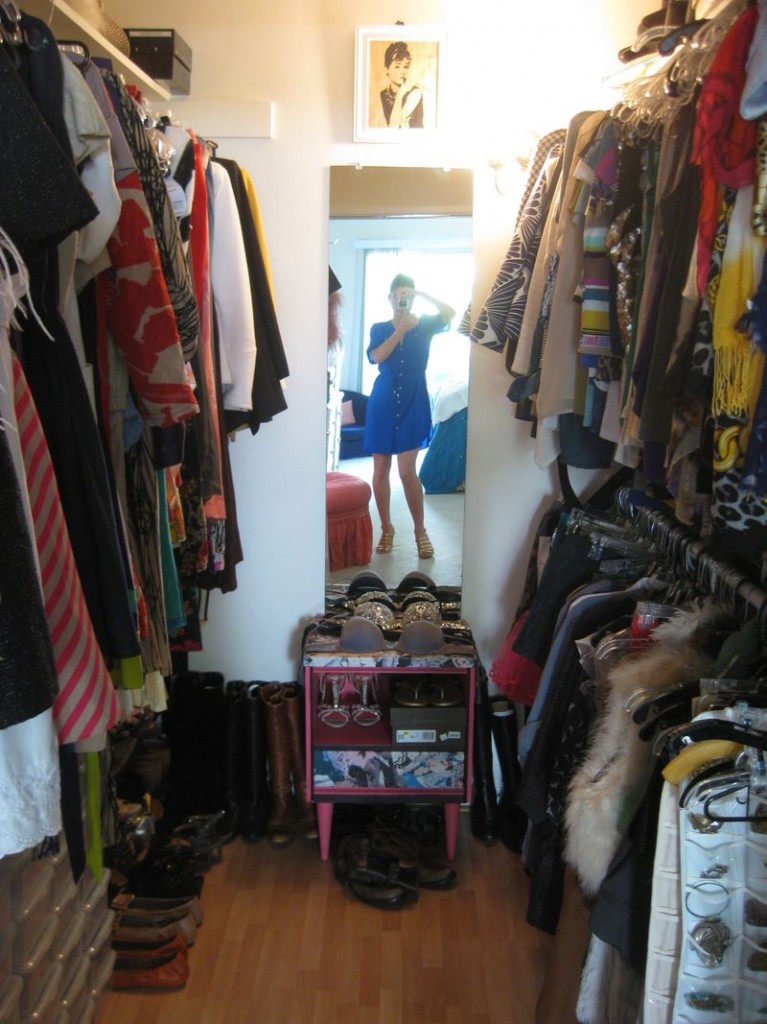
Not everything belongs on a hanger. For instance, heavy long-sleeved dresses will get indentations on the shoulders if you put them on hangers. Most long-sleeved sweaters will suffer the same consequences, and some maxi dresses will eventually stretch out if left on a hanger.
Here are the items you should hang:
- Sleeveless tops
- Short sleeve tops
- Collared shirts
- Sleeveless + short sleeve dresses
- Silk dresses + silk tops of any sleeve length
- Skirts
- Pants + slacks
- Suits
- Jackets
Here is a list of items that people typically store in drawers and on shelves, which is fine, but if you have the space, please hang them up. You’ll be able to see what you have better!
- Sweatshirts (hang them like this)
- Jeans
- Scarves
- Leggings
- Workout pants
- Short sleeved t-shirts
And here are items you should fold and put into a drawer or on a shelf:
- Long sleeved tees
- Most long-sleeved sweaters
Tip: Although many long-sleeved tees and sweaters will keep their shape if you hang them this way.
Step 3: Organize Your Drawer + Shelf Items
When it comes to how to organize your closet, my rule of thumb is you need to be able to access everything without having to disturb anything else. This means no stacking.
When putting away your foldable items in drawers, fold them into the same height/depth of the drawer and line the garments up like they’re files in a file drawer. Marie Kondo refers to this as “folding vertically”. Miriam Keoshian has a great video for showing how it looks, and here is Marie Kondo teaching you to fold herself. This works best in shallow drawers versus deep large drawers. If you have larger drawers, I recommend popping in cedar adjustable drawer organizers to create smaller spaces.
The same rule applies for putting items on a shelf: chunkier sweaters should be folded in half and jeans should be folded into thirds, and then lined up like books. For longer shelves, use a clear or metal shelf divider to create easier-to-manage spaces.
Tip: Flimsy long-sleeved tees will work best stored in a drawer. If you have to put them on a shelf, fold and stack them the way you usually would instead of lining them up like books.
Step 4: How To Organize Your Purses
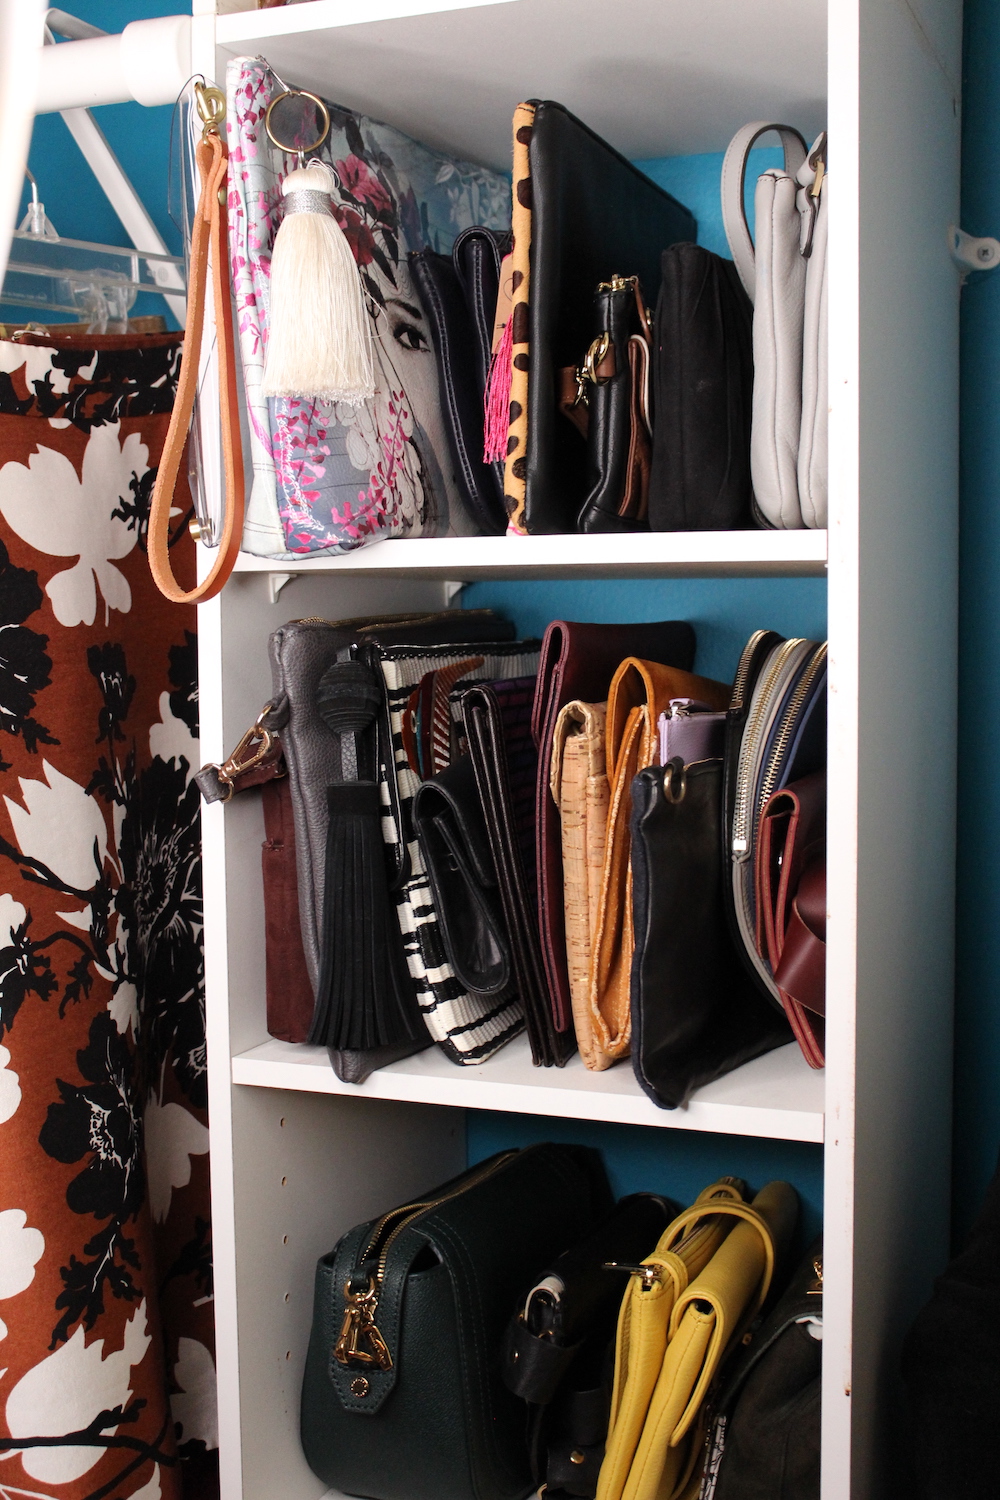
Clutches and handbags should also be lined up like books on a series of narrow shelves. I do not recommend storing purses in their dust bags because if you don’t see them, you won’t use them. Storing them on smaller shelves will prevent excessive dust. If you don’t have narrow shelves, use a clear or metal shelf divider to create those easier-to-manage spaces.
You could also place clear drawers on your shelves and store your handbags there. That will also prevent dust and you’ll still be able to see your purses!
Step 5: How To Organize Your Shoes
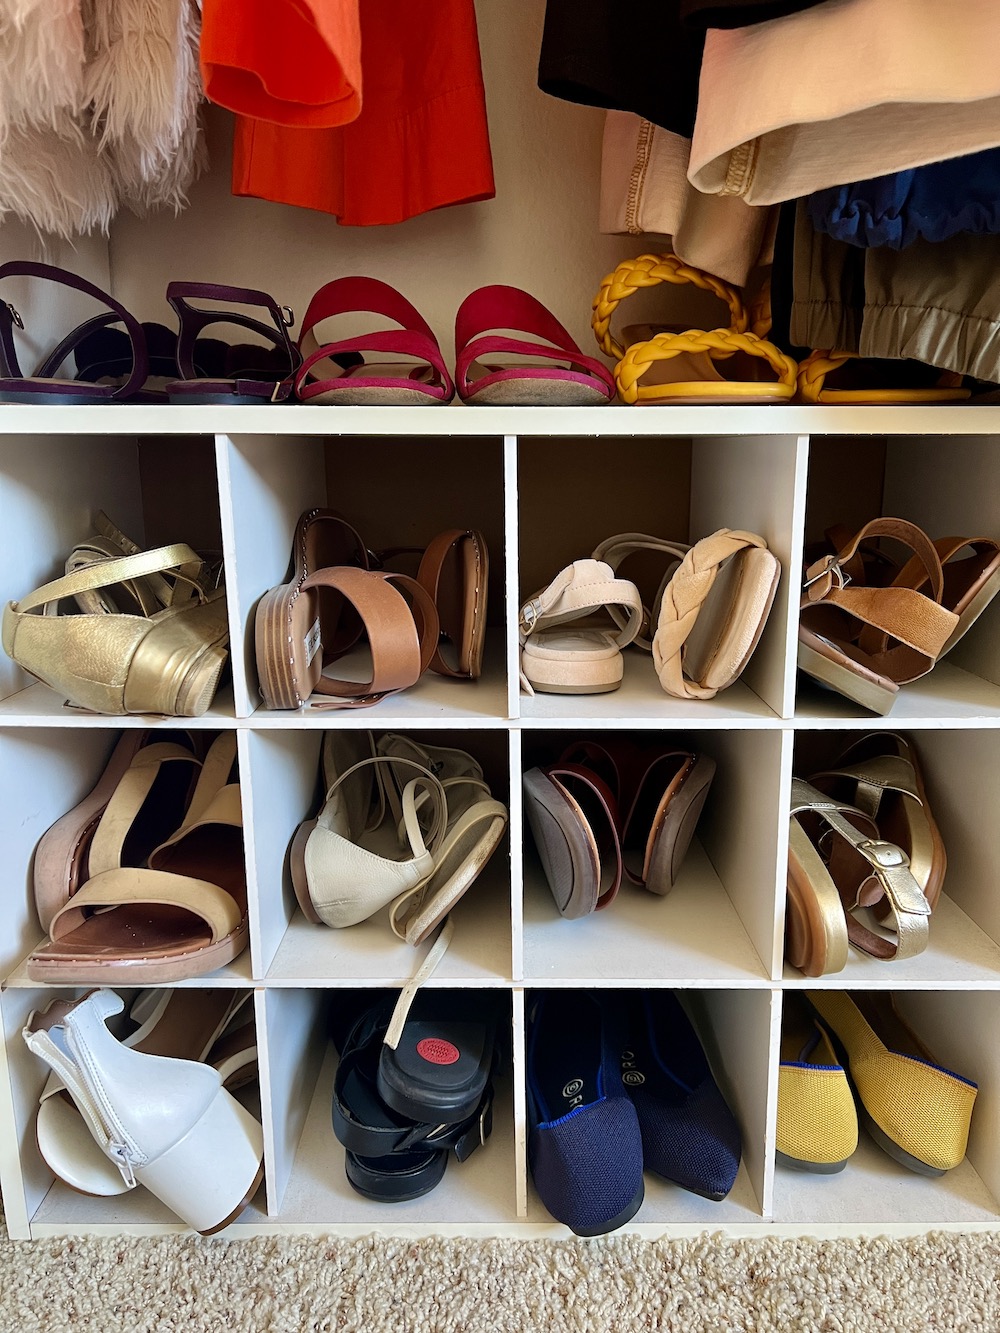
The biggest issue I see in my clients’ closets are piles and piles of shoes. To avoid growing a dusty shoe pile, purchase shoe organizers. But don’t get a shoe rack — they are inefficient and difficult to manage. Here are the best shoe organizers:
- Small Clear Stackable Shoe Drawers for flat shoes
- Large Clear Stackable Shoe Drawers for heels and flat booties
- White Shoe Cubby for flats
- White Shoe Cubbies for heels
For tall boots, I just line them up on the floor of the closet in the wintertime, and put them on a top shelf in summer.
Step 6: Organize Your Jewelry & Accessories
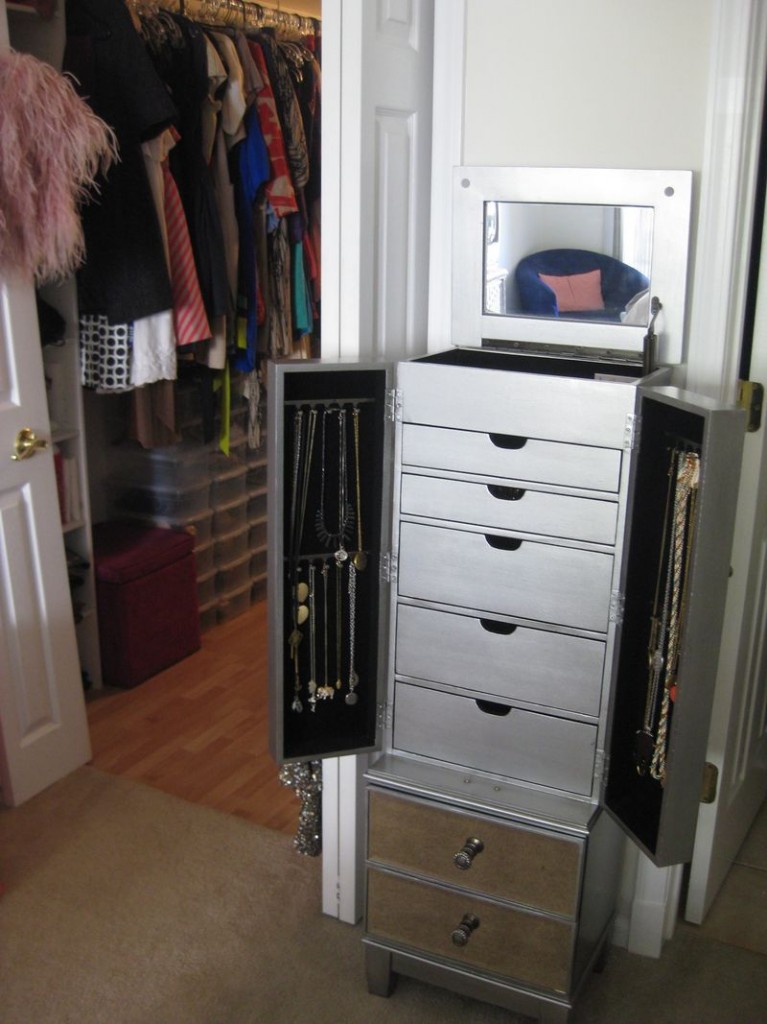
If you are a real jewelry fiend like myself, I recommend a velvet-lined jewelry chest. If you are a minimalist, use a drawer you already have and fill it with velvet-lined jewelry organizers. I also adore the Container Store’s clear acrylic jewelry chest. I say get two or three and line them up where it makes sense, like in the bathroom, on a dresser, on a shelf in the closet, etc.
If you have scarves, those are perfect when lined up in a drawer, using the folding method above. If you don’t have a spare drawer for them, put them in the large clear drawers.
Hats can be stored in the Large Clear Stackable Drawers as well.
Step 7: Store What’s Left
When organizing your closet you’ll want to store seasonal items in cohesive storage bins. This will clear up space in your closet and keep your wardrobe feeling fresh. It may even help you shop less, since each season you will be “shopping your bins.”
During winter, my clients store:
- Most swimwear
- Shorts
- Summery skirts
- Summery dresses and tops
During summer my clients store:
- Heavy jackets
- Heavier dresses (most sweater dresses)
- Wintery tops
- Wintery pants
- Ski/Snow clothes
- Tall boots
Store your seasonal bins on the top shelf of your current closet, a guest room closet, or the garage. Just don’t send them off too far that you forget about them. I recommend setting an alarm on your phone or adding a calendar event at the end of each major season to switch out your seasonal wardrobe. For the most pleasurable experience hire a personal stylist to help you organize each season and inform you on what to purge.
Can’t afford a personal stylist? See my post on Spring Cleaning Your Closet for the next best thing. This guide will seriously help you let go of what you don’t need anymore.

One Response
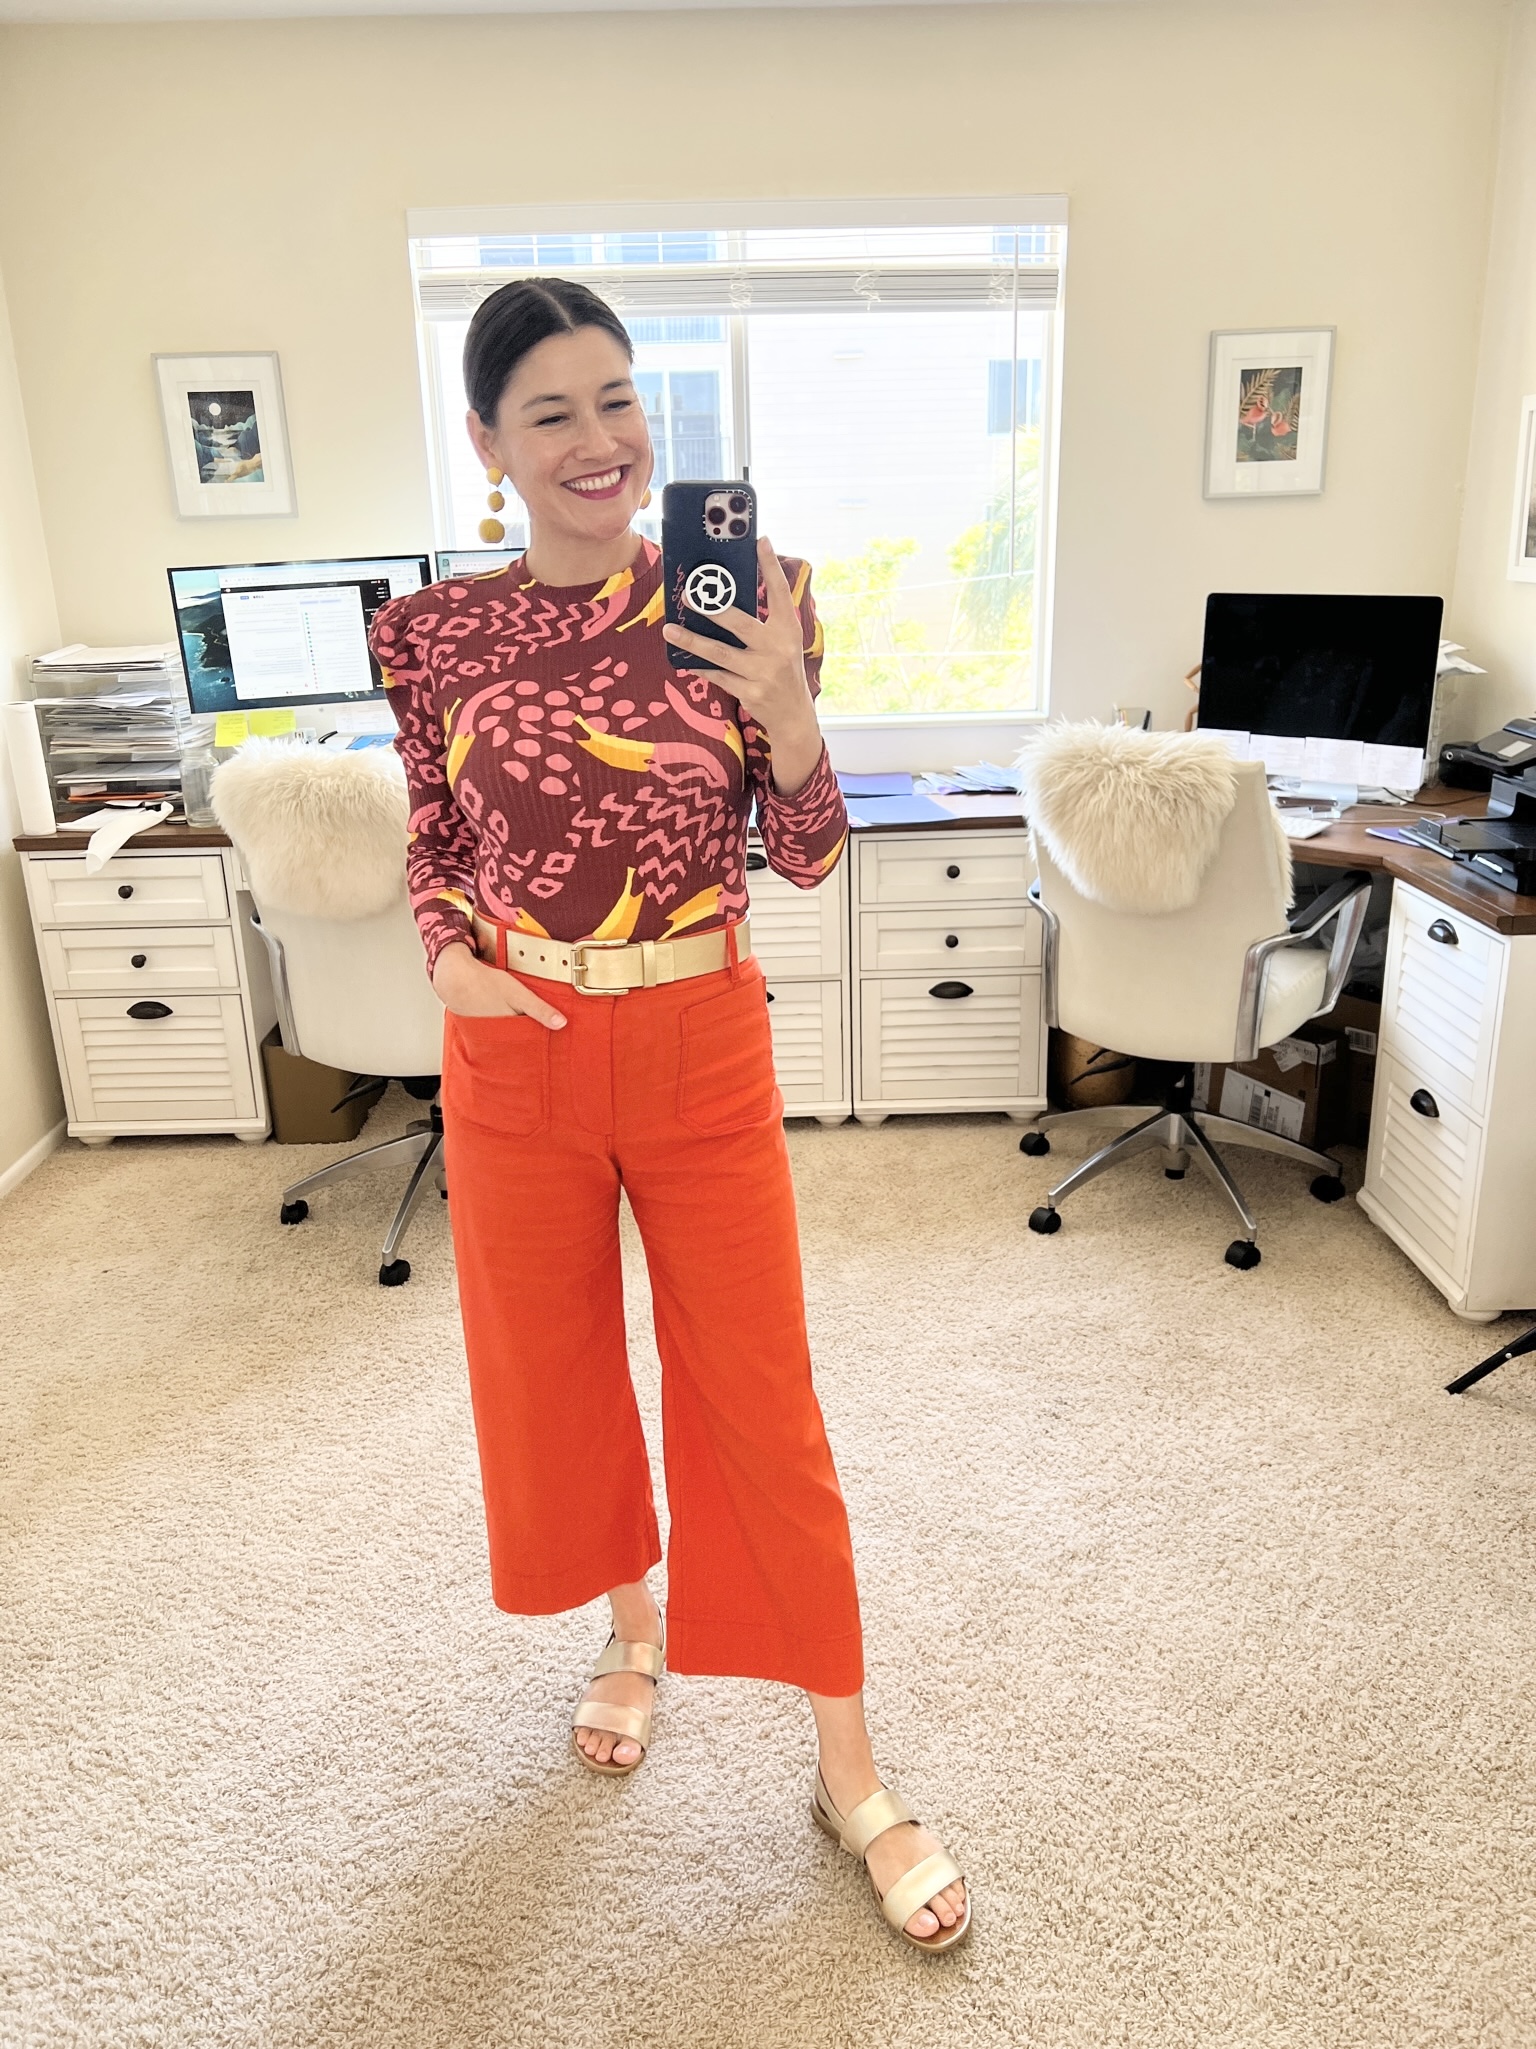
WOW! What a beautiful closet and room. Thanks for the peek into your closet.