
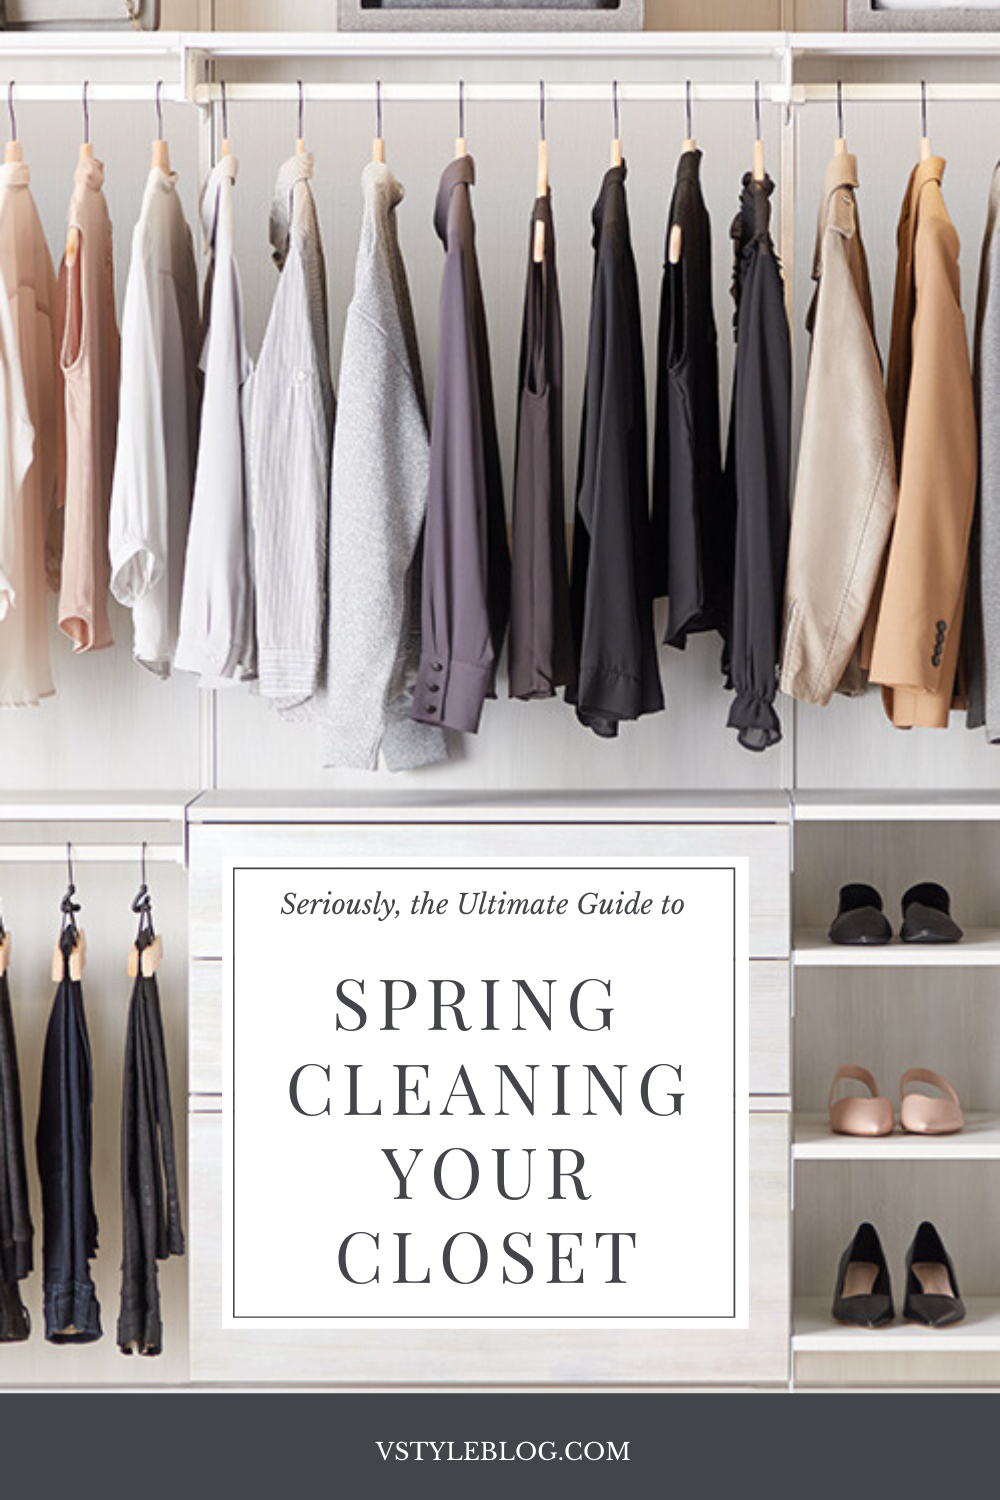
Spring cleaning your closet is one of my personal joys. It may be your personal horror. Either way, you’re going to absolutely adore the end result of a solid cleanse and closet reorganization. When you makeover your closet, it’s like making over yourself. Your personal style is an extension of your being and your closet is a reflection of your sanity. Let’s stay sane together with my step-by-step guide on how to clean out your closet…
Spring Cleaning Step 1: Get Boxes + Bins + Bags + Hangers

You are going to need some bigger boxes for donations, resale, and recycling your old clothes. You will also need storage bins for seasonal items, and a shopping bag or bin for the items that need to go to the tailor.
I prefer you don’t use garbage bags. They often can’t hold the weight of your donations and can be confused for trash. I have so many stories of people throwing away clothes they had no intention of throwing away. If you don’t already have these items in your home, purchase them before Step 2.
I also recommend you get a cohesive hanger look. There are some beautiful white wood hangers, and some people love velvet hangers. Here are my critiques of those: wood hangers take up a lot of space, and hurt when they fall on your toes, which will always happen when you are in a rush. Velvet hangers leave terrible indentations on sleeves and it’s so hard to get tops off of them. I do love them for hanging folded garments though, especially folded over jeans.
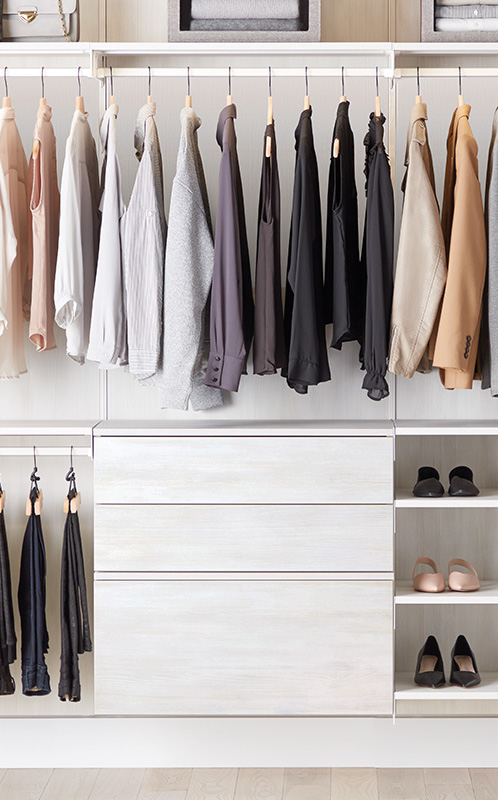
Generally, I prefer clear plastic hangers for their affordability and efficient use of space. They also create fewer indentations than velvet or wood hangers. Here are some of my favorite hanger styles…
- Clear Coat Hangers: for jackets, coats, and sweaters
- Clear Plastic Dress Hangers: for all tops and dresses
- Clear Heavy Duty Plastic Hangers: for jeans and tougher fabrics
- White Plastic Hangers: for skirts, joggers, and lightweight pants (or try these)
Spring Cleaning Step 2: Empty The Closet

Most home organizers and I will tell you that the first step to cleaning out your closet is to physically empty everything out of the closet and wardrobe. If there is an organization to it already, keep the sections together, and set them down in a room or space that is not going to be used for the next couple of days, so that you’re not pressured to finish it all in one day.
Spring Cleaning Step 3: Literally Clean The Closet
It doesn’t matter how often or how thoroughly you clean your closet, it is never cleaned properly unless it is empty. With every single garment, accessory, and shoe out of the closet, now is the time to confront unscrupulous dust bunnies. Here is the order in which to clean your closet:
- Dust: Always dust before involving a liquid cleanser. I recommend the Swiffer Duster or the extendable Oxo duster. Use it on all the shelves, walls, mirrors, and bars. If you skip dusting, a liquid cleanser will turn the dust into wet clumps. I call it dust mulch, and I hate it.
- Windex any glass surfaces.
- Sweep: If you have hardwood floors, sweep the floors and create a pile of debris at the closet entrance. If you have carpet go straight to vacuuming.
- Vacuum: If you have hardwood floors, vacuum up the pile your sweeping created, and do a once-over of the whole closet floor. Then, whether you have carpet or hardwood floors, use the vacuum extensions to suck up everything in every corner and along the baseboards.
- Wipe Down Hard Services: Mop hardwood floors, and wipe down everything above the floor. Mop the floors however you usually would, but for the walls and shelves, I like to use a spray bottle of 50% isopropyl alcohol and 50% water. I spray it directly onto the shelves and walls, and then wipe them down with a commercial-grade microfiber towel.
Spring Cleaning Step 4: Purge Your Closet In Categories

A key part of cleaning out your closet is to purge all of the items you no longer wear or need! To do this, put all of your closet’s contents into categories — all tops together, all pants together, all skirts together, and so on. I know it seems weird to organize before you organize, but I promise you it is more efficient. As you see things you know you don’t want, put them in the donation box. As you see things you absolutely adore AND have worn recently, hang them back in the closet.
Spring Cleaning Step 5: Try On Every Single Thing
For every garment you are thinking of keeping that you aren’t deeply in love with, I want you to ask yourself the questions below.
-
- Is it comfortable? If it’s uncomfortable, just toss it. (I am looking at those four-inch heels, friend!) If it is comfortable, move on to the next question.
-
- Are there construction or wear issues? Does it pucker at the left side seam? Does it ride up when you wear it? Does it stretch out too fast? Droop at the crotch? Is there excessive pilling? If so, donate it.
-
- Is it good quality? Does it look cheap? You don’t need to look like you dropped a lot of money on your clothing, but you also don’t need to look like you didn’t. Skip anything that cheapens your look.
-
- Is this a good color for you? There is a right and wrong shade of every color for everyone. Make sure you have all the right hues for you. Sometimes the wrong shade happens to be beautiful, but if it washes you out, let it go.
-
- Do I already own something just like this that I love more? Often we have numerous garments that do the same job. Make sure you try them all on so you can compare them. Pick the one or two most versatile, joyful, and flattering versions, also known as your “favorites,” and pass on the rest.
-
- Is this a good fit for you? Is it too tight in the bust? Too big in general? Is it too short or too long? Some issues can be fixed, but many cannot. If the sleeves or hem length is too long, put it in the bag going to the tailor. As long as the garment is not too much bigger on you, it can be tailored to your body. If a shirt is too short, this cannot be remedied, so toss it in the donation box. As for too tight, if you are certain you will lose weight and you adore the garment, place it in a storage bin and label it with the date. If in 6-12 months, the clothing in the bin still doesn’t fit, donate the whole bin.
-
- Does it have an outfit? Is the garment’s only problem a lack of partner? If you have a skirt you adore, but don’t have a top to go with it, pursue the missing piece. Create a shopping list in the notes section of your phone and every time you come across an awesome and beloved garment that doesn’t have an outfit, add its missing components to the list.
-
- Is this my current personal style? You may have loved it in the past, but do you love it today? Perhaps your style is evolving. Dress for the person you are today, and pass on the past.
-
- When can you wear this? You used to be a party girl. You raged with the best of them and have all the dresses and high heels to show for it. Although you still love them and they fit great, you haven’t been to a club in years and it’s more about kids’ parties now. Keeping a fabulous sexy dress or two is a great idea! But holding onto another lifetime is not. Obviously, this also goes the other way. You used to be in the corporate world and now you make candles in Puerto Rico. Keep your top two professional looks, and donate the rest.
-
- Why haven’t I worn this? If you try something on, find it to be great as well as appropriate for your lifestyle, but yet you haven’t worn it in two years, do not just put it back in the closet. Wear it this week. Every now and then this test reminds you of a fabulous piece that accidentally fell out of rotation, but often, you’ll find it just doesn’t feel right. In that case, now you can toss it with confidence.
-
- Are there stains, rips, or ugly buttons? If there are obvious stains and you have tried everything from home remedies to the dry cleaner, toss it in the fabric recycle bin designated for the clothes you’ll be recycling. If there’s a tear in the seam or the buttons are cheesy, put it in the bag going to the tailor.
-
- Is this an exception? There is the occasional item that can be kept even if it seems silly. If you are big into Halloween or costume parties, that 70s dress can stay, but put it in the costume section of your home. If you adore the elaborate fur stole your grandmother gave you, go ahead and keep it. Just make sure all this fits into one storage bin, or hangs in one small section of an extra closet.
For a printable graphic of these Closet Purge questions, Click Here.
Spring Cleaning Step 6: Purge The Forgotten Categories
So many people skip purging their underwear and socks when spring cleaning their closets, as I told The Zoe Report. You don’t need 43 pairs of socks and 38 pairs of panties. Only keep quality items that you actually wear with just a few extras as a buffer between laundry days. This goes for workout wear, bras, lingerie, and pajamas. I really want you to purge every nook and cranny of your wardrobe.
Spring Cleaning Step 7: Pack Up Winter Items
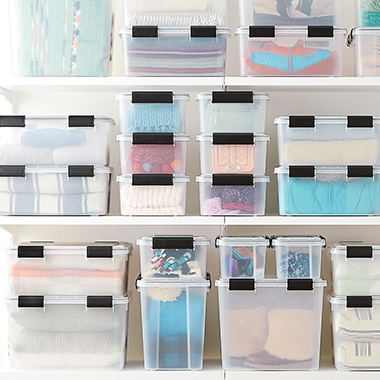
Time to put away winter items. Gloves, beanies, snow clothes, tall boots, larger coats, etc, do not need to be in your main closet anymore. Many of my clients have a closet in a spare room or hallway specifically for seasonal items. In this closet, we hang anything that needs to be hung, pack away foldable items in a clear bin, and line seasonal shoes at the bottom of the closet. If you don’t have the luxury of an extra closet, put all winter items in a storage bin/s and store it somewhere you won’t forget.
Spring Cleaning Step 8: Organize What’s Left Of The Clothing
If you don’t already have a preferred method for organizing your clothes, now is the time to implement one! Check out my post on How To Organize Your Closet, for a step-by-step guide on the best way to store and organize your clothes, shoes, purses, and accessories.
Spring Cleaning Step 9: Donation + Recycle + Resale
Here is where I recommend taking your donations:
- General Donation + Hygiene Products: Alpha Project
- New & Gently Used Clothing: Father Joe’s
- Women’s Work Wear: Dress For Success
- Formal Gowns: Princess Project
- Shoes: Soles 4 Souls
- Coats & Jackets: One Warm Coat
- New & Gently Used Clothing: Am Vets Thrift Stores
And don’t forget to recycle all overly worn, torn, or stained items at a fabric recycling location. Check out this post for a full list of all the places you can recycle old clothes. But for your one stop shop, you can recycle ALL overly worn clothes, shoes and accessories with Trashie.
I recommend reselling quality medium-end pieces with Buffalo Exchange, Poshmark, or Thred-up, and higher-end pieces with The Real Real. For high-end bags and jewelry, I recommend Fashionphile.
Step 10: Live Your Life Changed
When you’re done spring cleaning your closet, it will be a safe place, a haven from the chaotic world. A place to express and enhance yourself. Enjoy.


2 Responses
Love this! Thank you for links to responsible donations.
You are so welcome! Thank you for appreciating that!