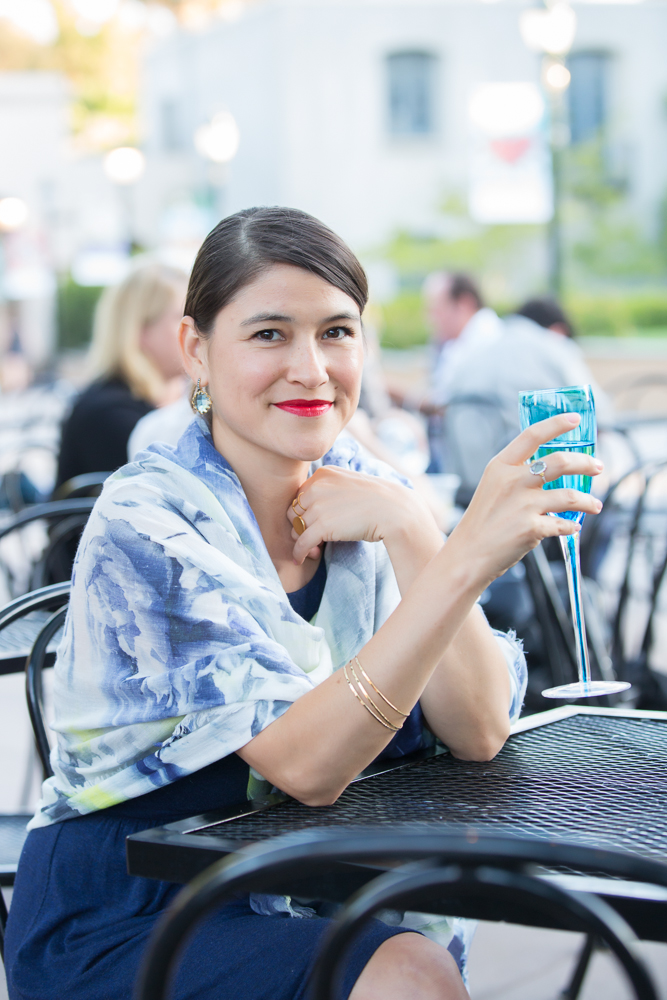
Are scarves out of style? Nope. Large oblong or rectangle scarves, aka shawls, are genius and therefore timeless. Let me explain… During the summer, it’s hot outdoors, but freezing inside. (Damn you overzealous air conditioning!) Here ensues the jacket conundrum. No one wants to carry around a jacket on a hot day, plus jackets tend to disrupt the lines of a yummy summer outfit. A cardigan could step in for the job, but it can be difficult to find the perfectly shaped cardigan in the perfect length for summer looks that involve dresses and shorts. This is where large rectangle scarves shine. Not only will the right shawl keep you warm in air conditioning, but you can also use it to protect your skin from the sun without overheating. Plus, the scarf can be folded up easily and stowed in your purse when you’re over it.
Note: I’m sure you have noticed that a large rectangle scarf is just a technical way of saying a shawl. In this post, I use them interchangeably. Below, I’ve outlined some basics for summer shawls and then go over how to wear a shawl, from a traditional drape to a front “tie-knot.”
If you’re looking for a yummy summer scarf to wear as a shawl, check out my post on The Best Summer Scarves.
How To Wear A Shawl: Get The Right Size
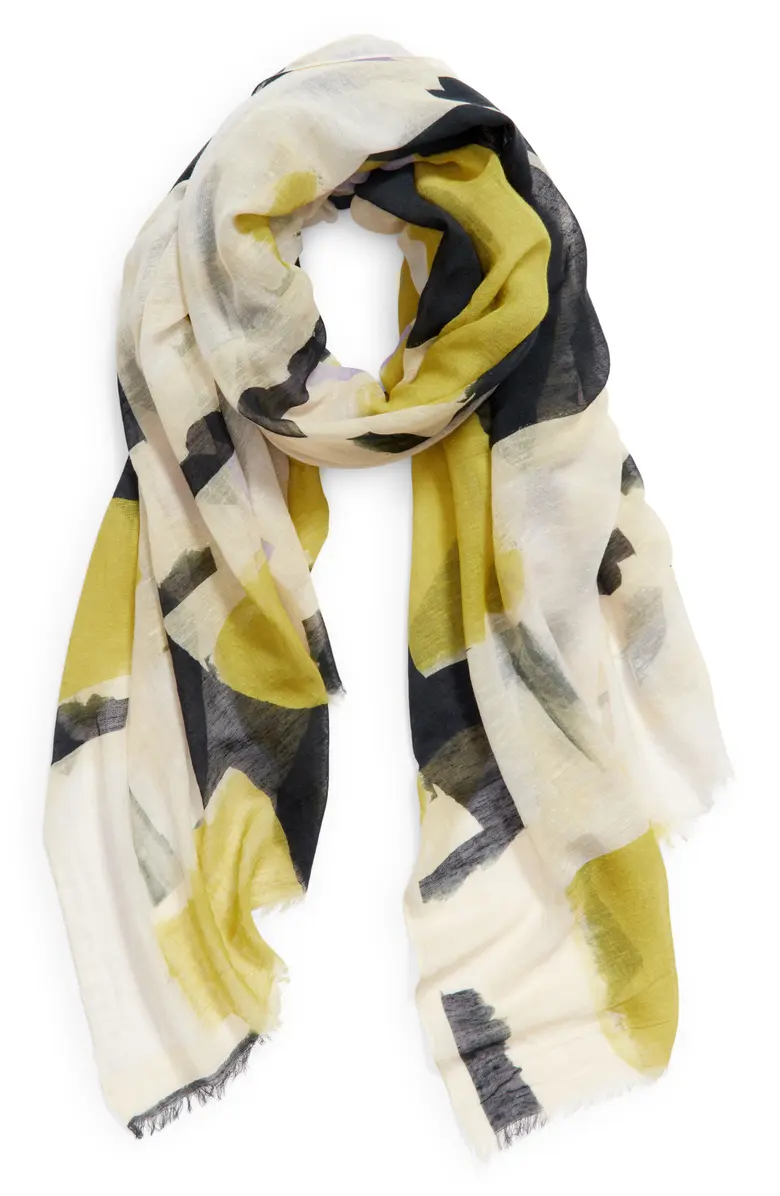
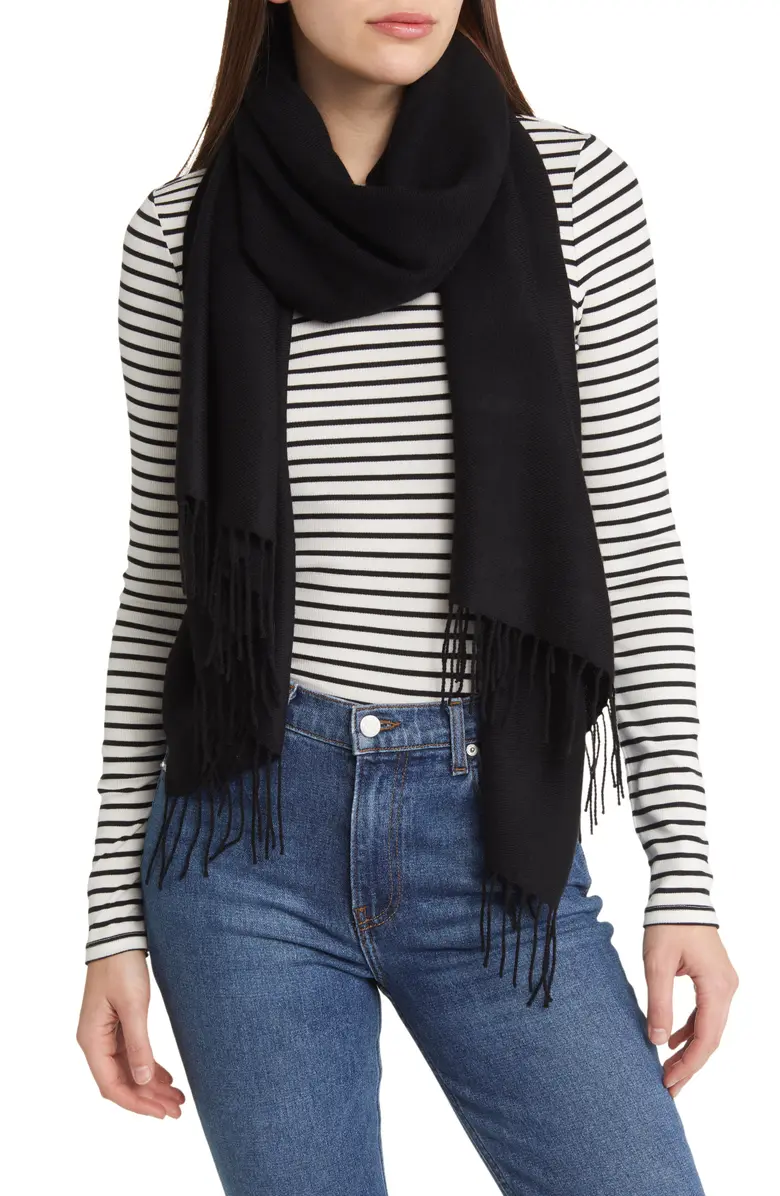
First things first! Before you learn how to wear a shawl, you need to get the right size scarf. The best shawls are rectangle scarves anywhere from 30 to 50 inches wide and 60 inches long to 80 inches long, give or take an inch or two. Nordstrom’s standard rectangle scarf that they sell year-round in many colors and a couple of different materials is my go-to shawl for clients. Check out my post on The Best Summer Scarves for all the yummy options I’m loving this season and keep reading for my favorite ways to wear a scarf as a shawl…
How To Wear A Shawl Traditionally
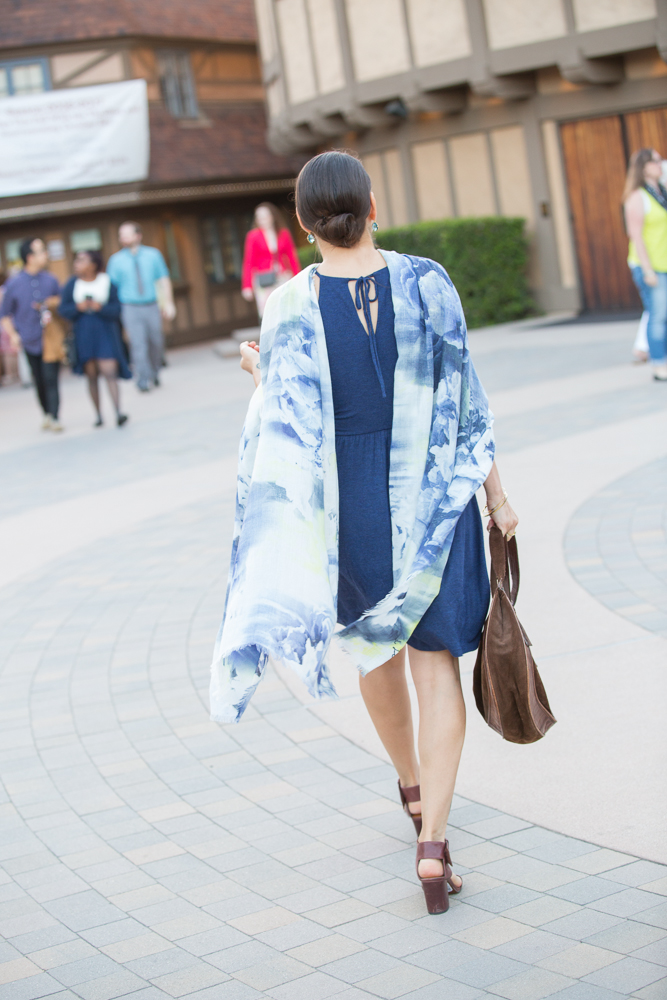
Pictured above is the usual use of a shawl. It is the easiest and most common sense way of wearing one when it is a bit chilly out.
- Symmetry: Simply center the shawl at your back.
- Elbows: Then drape the ends into the bend of your elbows. I like to show a bit of skin at the shoulder when draping it.
How To Wrap A Shawl

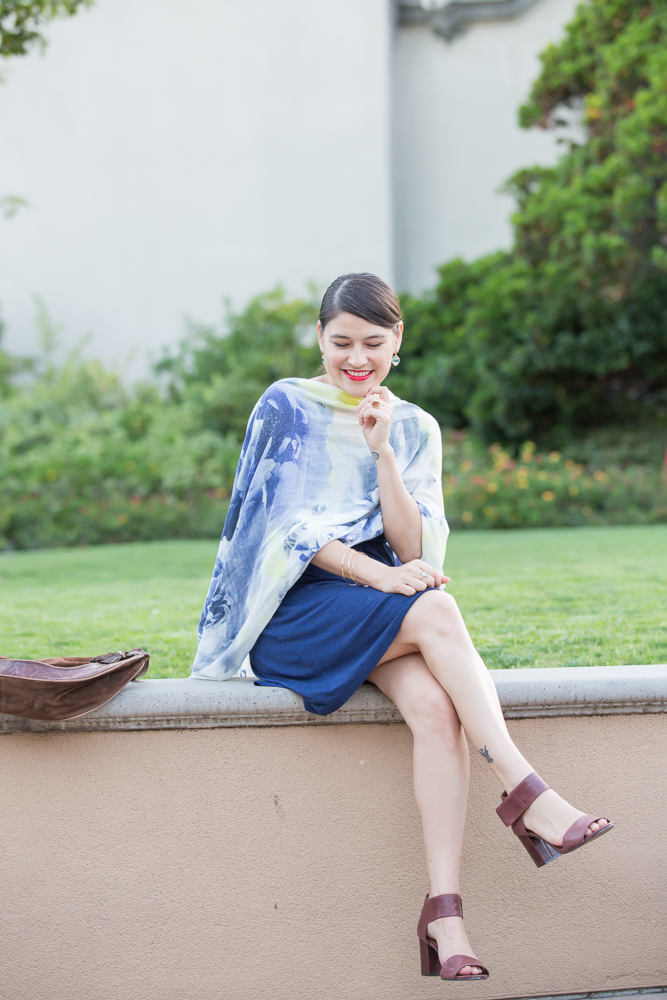
An example of wrapping a shawl is pictured above, as well as at the beginning of this post.
- Asymmetry: Instead of centering your shawl at your back, you’re going to start by placing only one half of the scarf at your back. This leaves you with a scarf end peaking over one shoulder and a lot of scarf left over at the other shoulder.
- Wrap Time: Take the long end and wrap it around your front, then toss it over the shoulder that has less scarf.
- Adjust: I then like to adjust what I’ve done by pulling the scarf down around the neck. Your scarf should be long enough to do this since you’re supposed to be using quite a large rectangle scarf. The one featured here is about 78 inches long.
How To Wear A Shawl Reversed
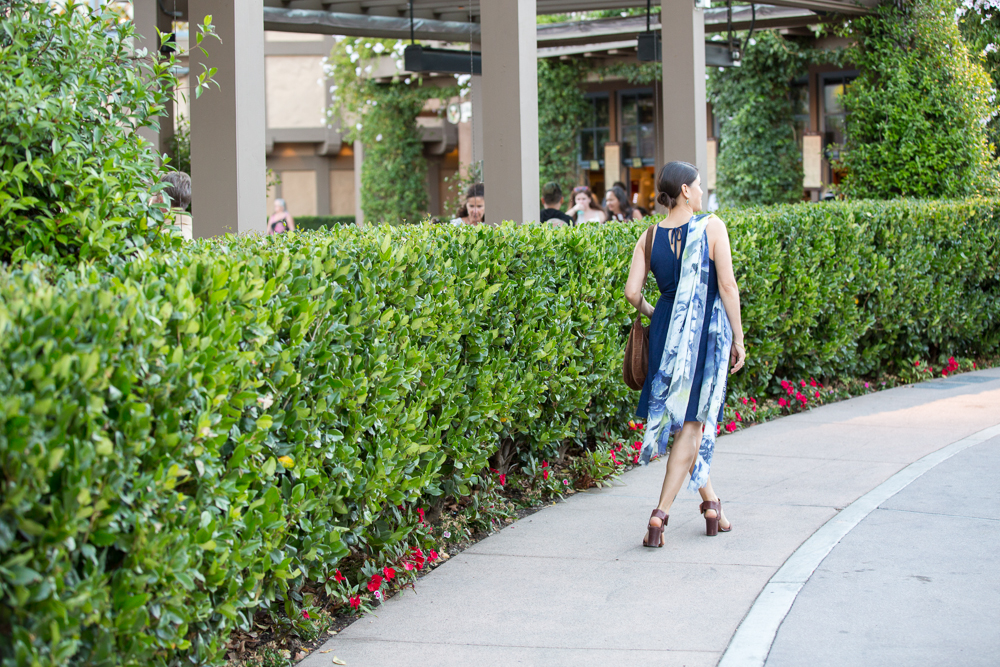
Pictured above and below, the reverse shawl is not just a clever name. It is basically the reverse of the traditional way one wears a shawl.
- Symmetry: Hold one side of the scarf horizontally and centered in front of you.
- Shoulders: Place the scarf over your chest and drape about ⅓ of the scarf’s width over your shoulders so the ends flow behind you.
- Elbows: This look requires your elbows to be bent to prevent the shawl from slipping down your body. This look is best for sitting or walking.
- Adjust: Make sure that the shawl is hooked behind your shoulders so that it doesn’t fall off easily.
How To Wear A Shawl: ‘Throw It On’
If I’m running out the door, I love to just throw a scarf around my neck and go. This involves no tying and no wrapping.
- Symmetry: Place the scarf horizontally at the back of your neck with the ends draped over the front of your shoulders.
- Bunch: The width of the scarf will automatically bunch up to create the illusion of less width. It will now look like a traditional scarf that dangles at your sides. When you walk, the ends will flow under your arms to trail behind you.
How To Wear A Shawl Over One Shoulder
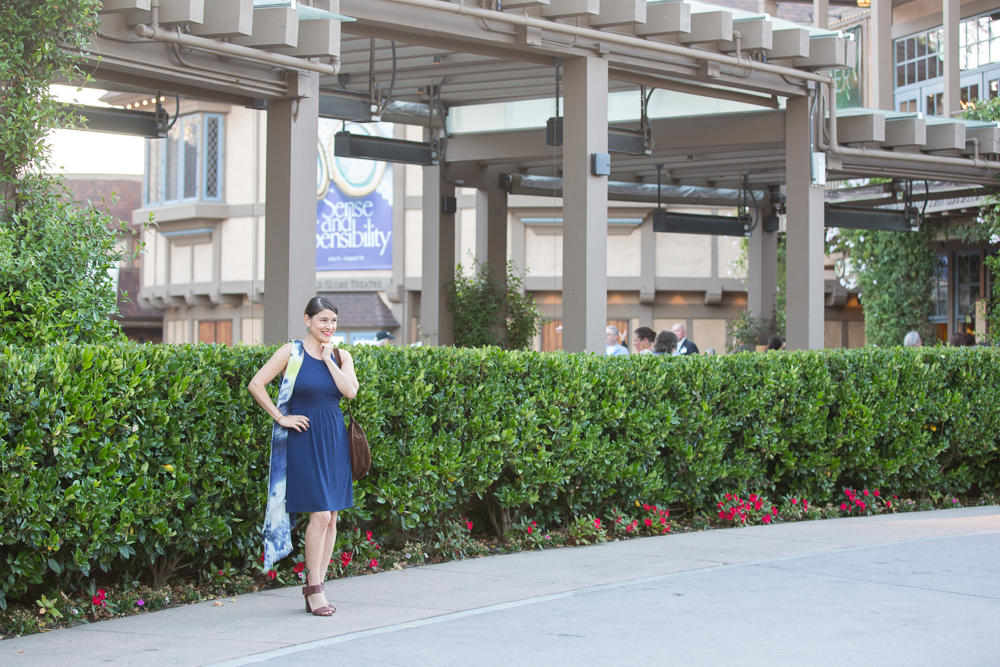
This example is pictured both above and below.
- Bunch: To create the illusion of less width, bunch the width of the scarf so it can fit in a fist.
- Symmetry: Place the now thinner-looking scarf on one shoulder so that the ends are similar in length down one side of your body.
- Adjust: Where the scarf is placed on my shoulder I like to tuck the sides of the scarf under the bunched width to create a cleaner look.
How To Wear A Shawl: ‘The Tie’ Knot
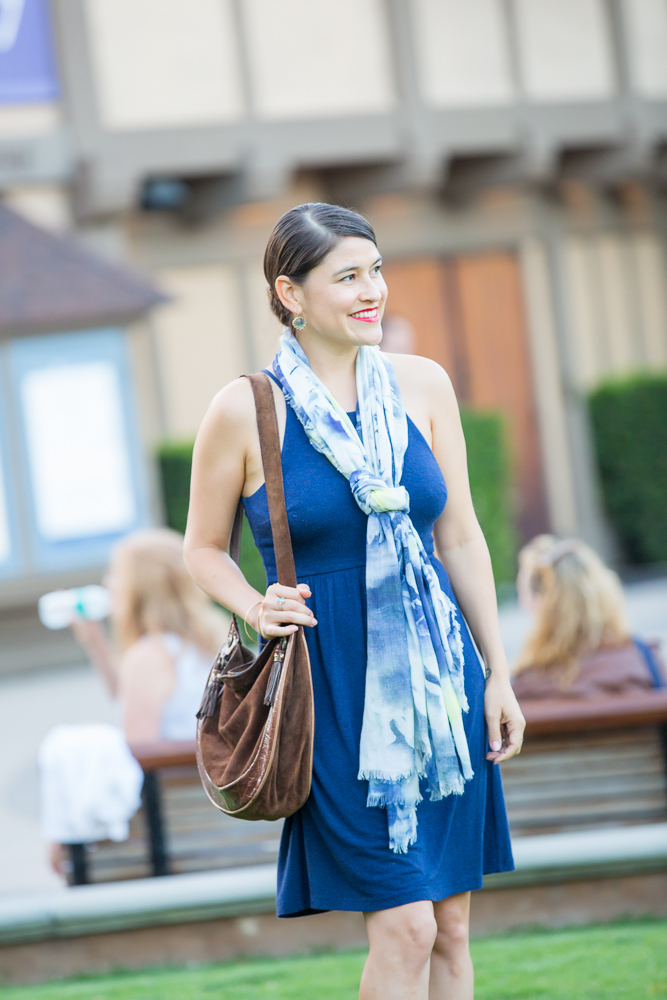
When you’re plenty warm and just want to be decorative, I love to do ‘The Tie’ knot with the scarf. I call it that because it starts off similar to tying a man’s necktie. The example is pictured below.
- Symmetry: You start by placing the scarf horizontally across the back of your neck with the ends draped over the front of your shoulders, similar to the ‘throw it on’ look.
- Bunch: The width of the scarf will automatically bunch up to create the illusion of less width. It will now look like a traditional scarf versus a traditional shawl.
- Asymmetry: You then pull on one side to make it about a foot longer than the other side.
- Loop: Take the long end and wrap it around the short end once to create a loop.
- Insert: Then insert the long end into the little opening of the loop you’ve created and pull it through.
- Adjust: Double check that the ends of the scarf are relatively the same length now.
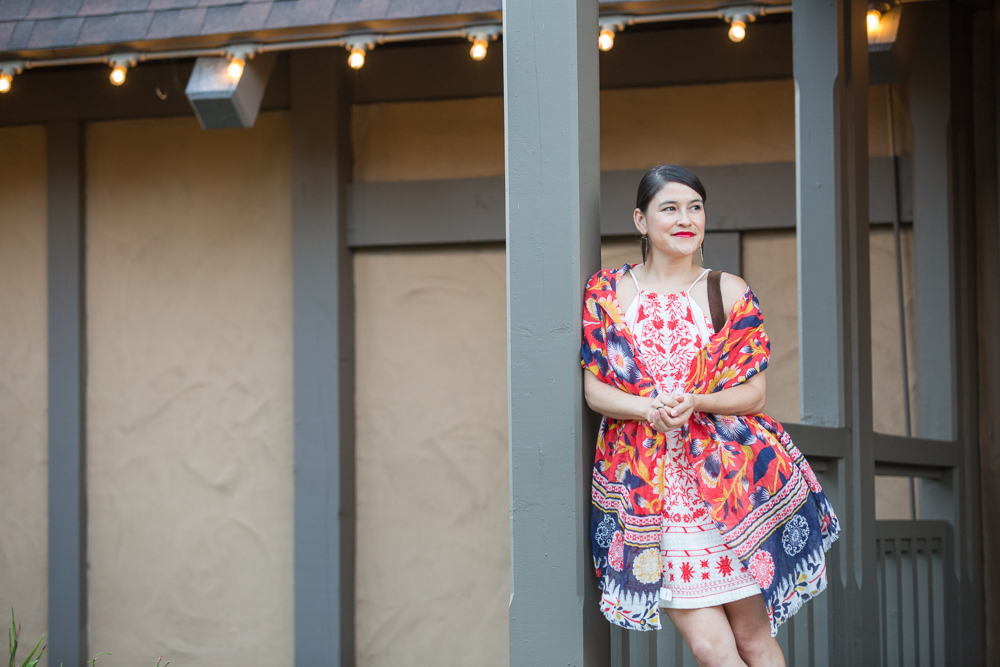
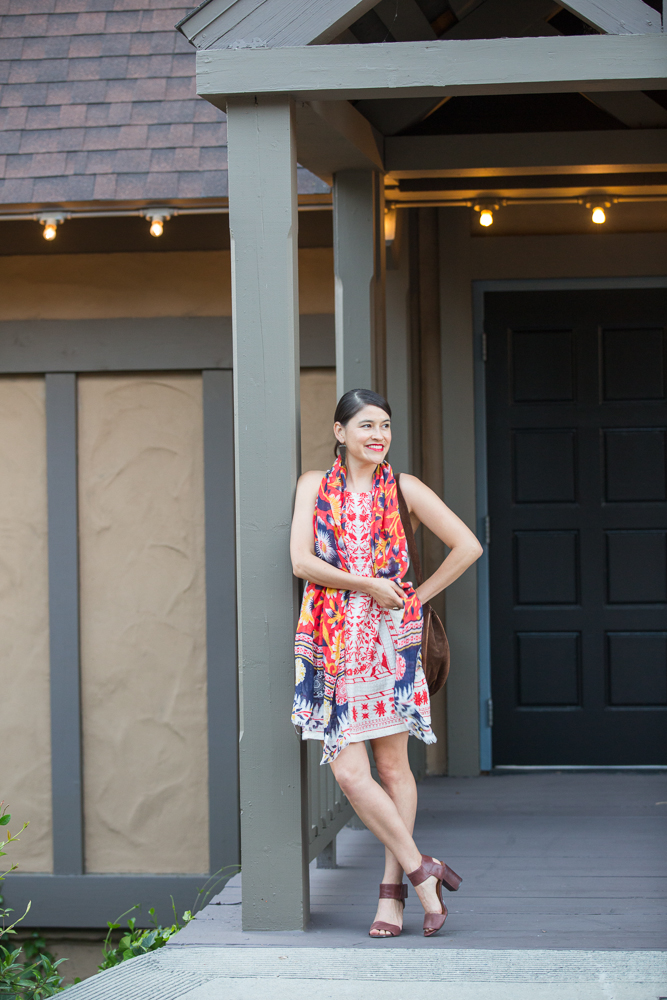
How To Wear A Shawl: Mix Prints

As you can see above, it is so fun to mix prints with scarves and shawls. The key is to choose a printed scarf that has 1-2 prominent colors in common with your dress. In this example, the dress and the scarf have the perfect red and the perfect cream color in common with each other. If mixing prints intimidates you, follow the standard rules: when wearing a printed dress, wear a solid-colored shawl. When wearing a solid-colored dress, wear a printed shawl.
How To Wear A Shawl Around Your Neck
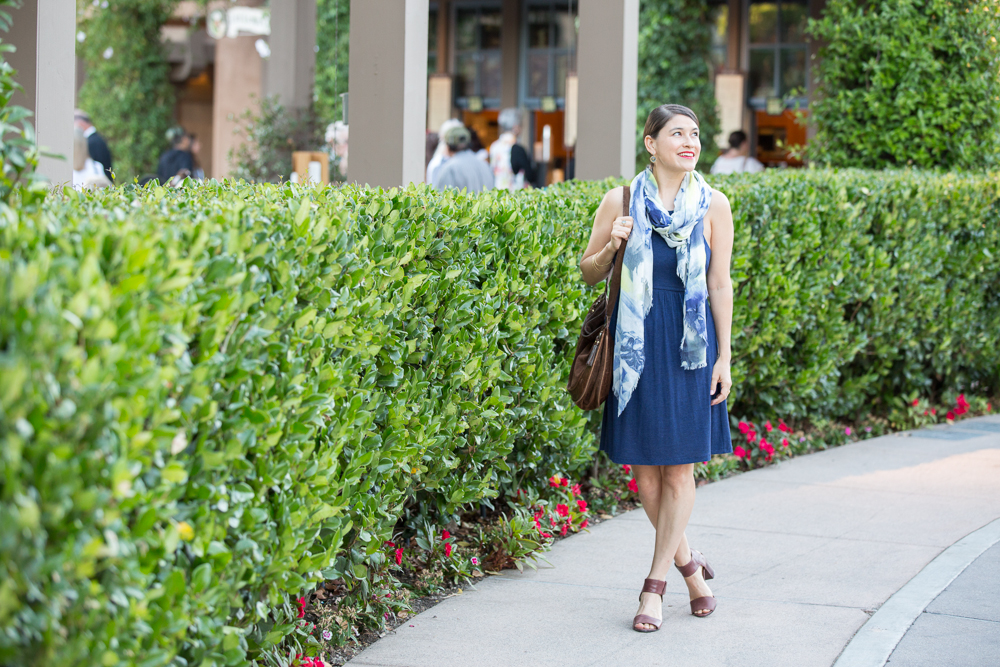
Pictured below, is the traditional large scarf look for a casual and comfortable look. There are two ways to do it. I will describe the easiest version to put into words.
- Bunch: To create the illusion of less width, bunch the width of the scarf so it can fit in a fist.
- Both Hands: Lay the now thinner-looking scarf across both your hands with your palms facing up, like you are holding a snake.
- Center: Center the scarf across the front of your neck and drape the ends behind you.
- Front: Now take one scarf end and wrap it around the back of your neck and place the end over the opposite shoulder. Do this with the other scarf end as well. When you’re done, each end should be hanging down the front of your shoulders.
- Adjust: Pull down the loop around the front of the neck a couple inches so you can see all of your throat. I also like to make sure that the ends are somewhat symmetrical. Note: Mine looks a bit sloppy above. I didn’t have a mirror when I was on location going from one scarf look to another. I would have made the ends more symmetrical and I would have tucked in the fringed sides around my neck for a cleaner look. I also would have centered the loop around my neck a bit more.
Photos by Dayley Photography
Location: San Diego’s Old Globe Theatre
